
We were in Taormina, one of the most idyllic towns I have ever stayed at, and we had awoken early to explore this gorgeous mountain top village. We spent the early hours of the morning wandering the empty streets and alleys, capturing images as the sun rose and kissed each rooftop.
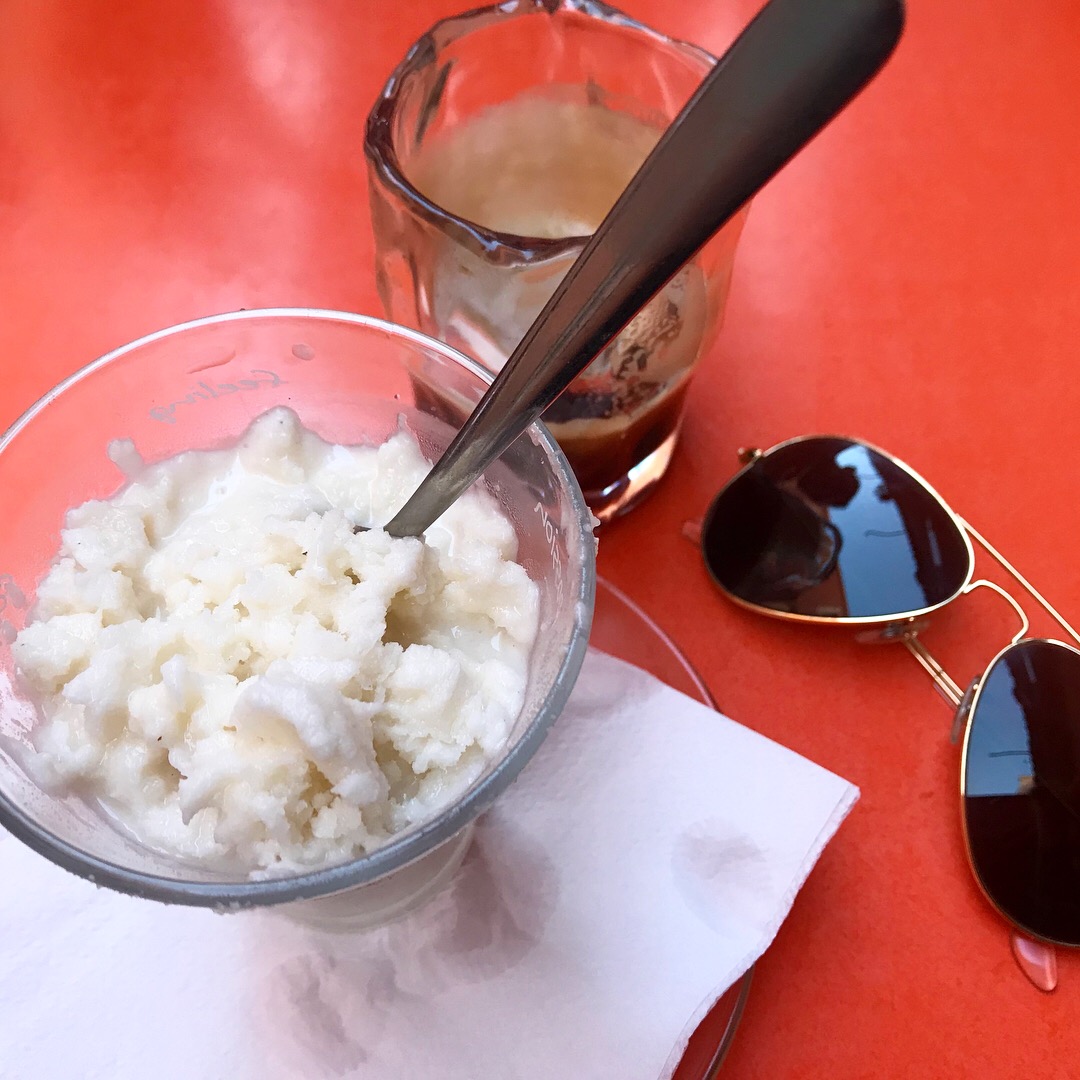
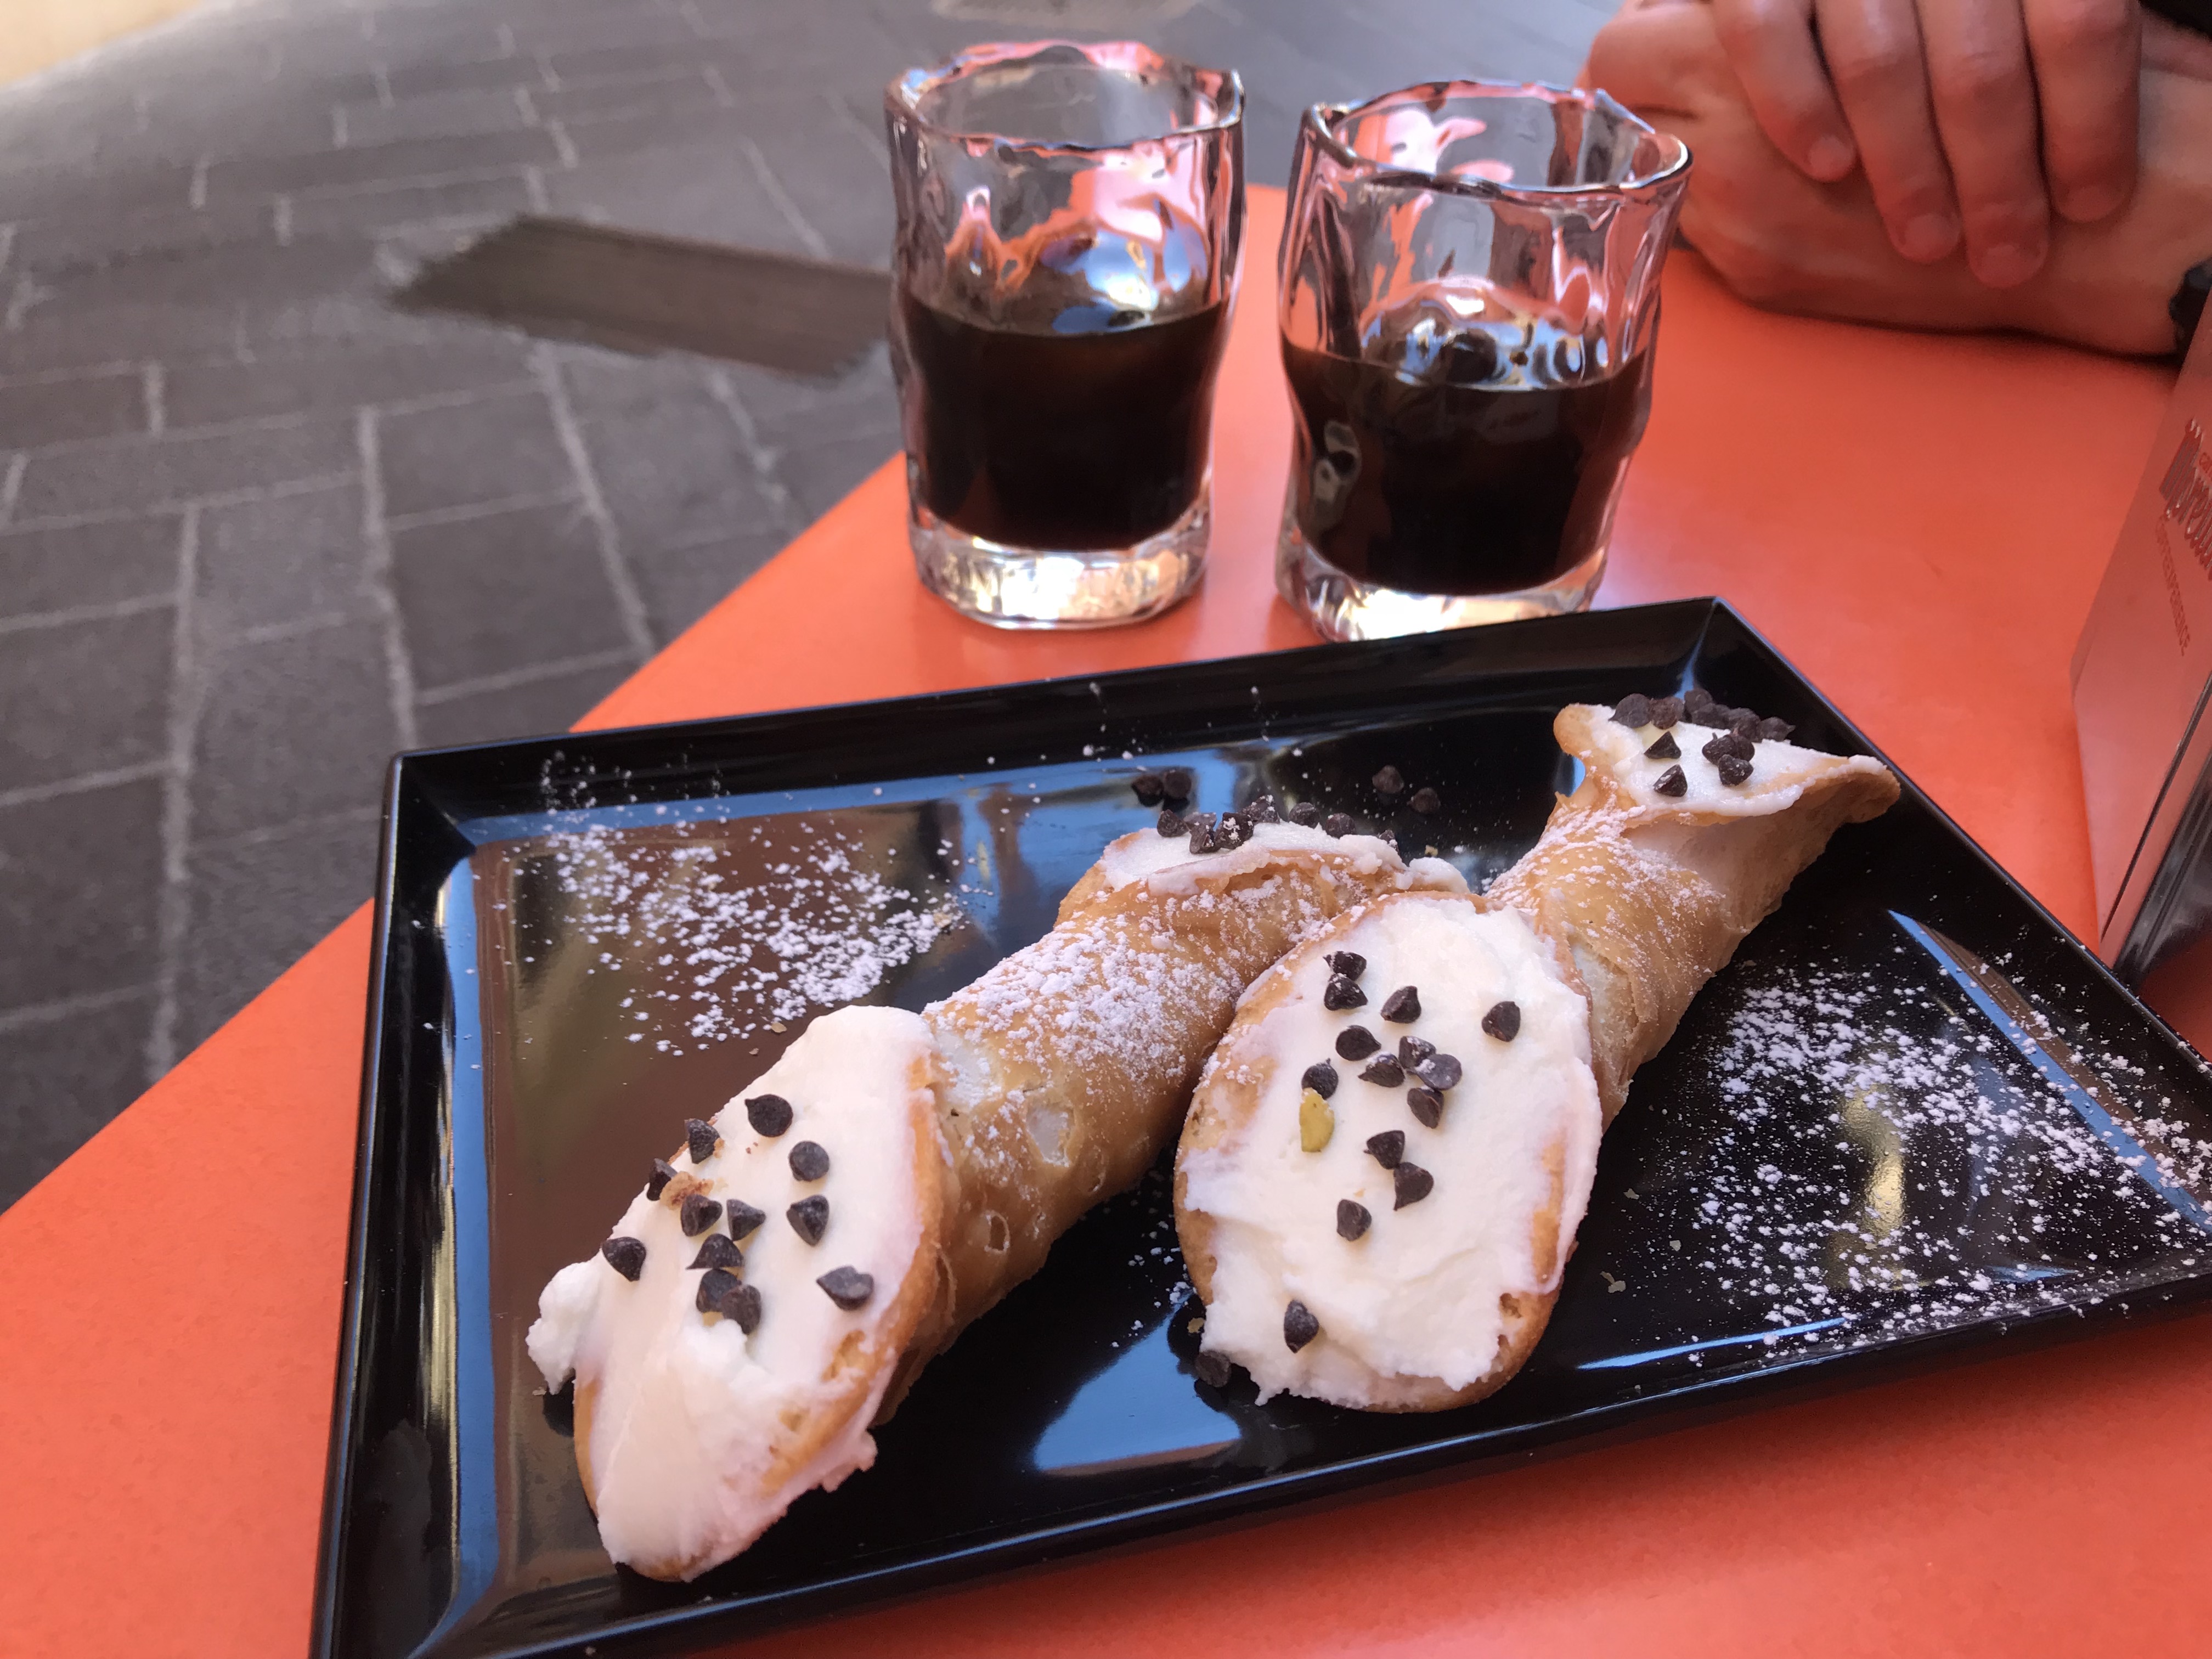
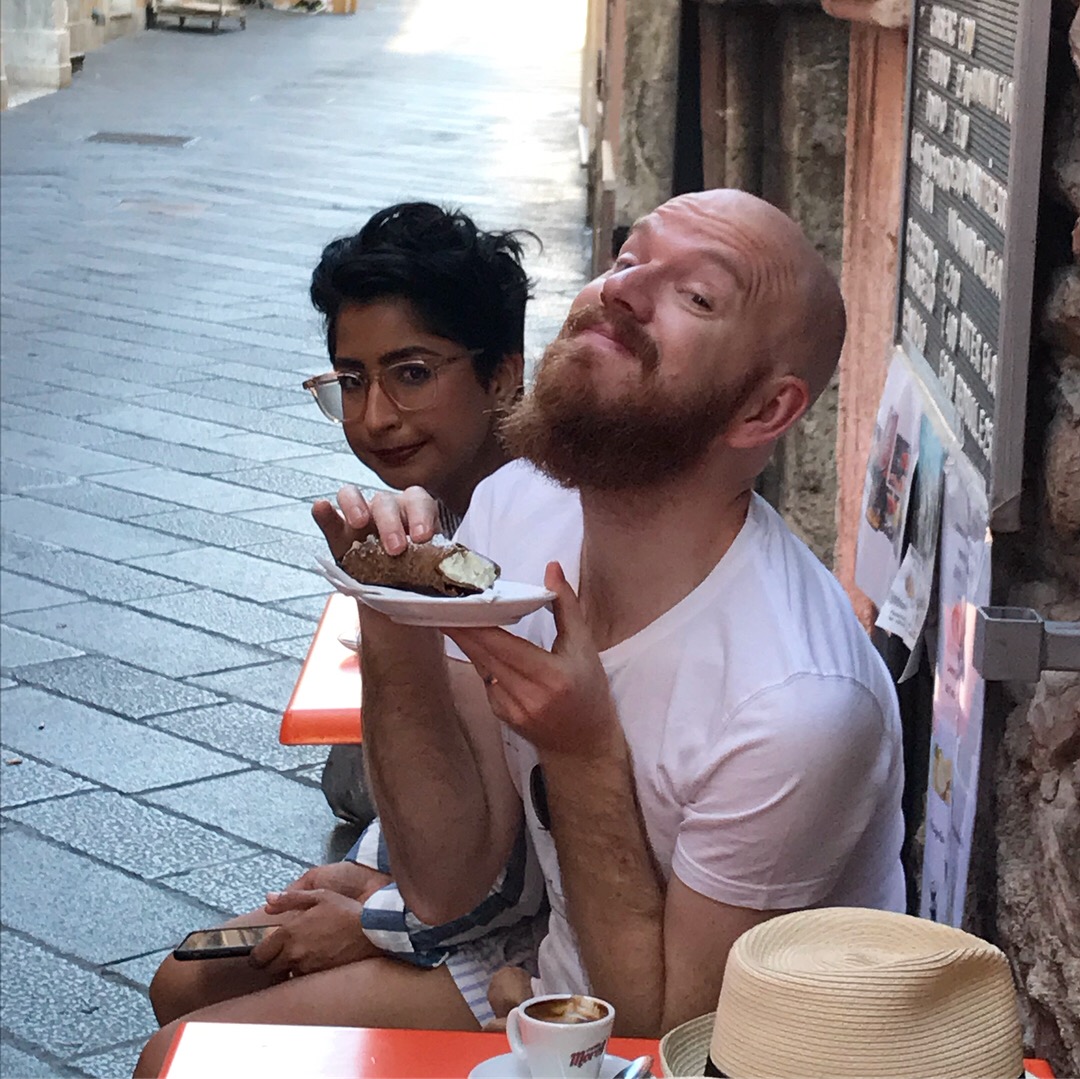
We ate breakfast at what would become our favourite breakfast and refreshment stop; 145 Caffe, on Corso Umberto and ordered what would become our ‘regular’, cafe freddo and either a biscotto, cannoli, brioche, granita or marmellata cornetto (if you are ever in Taormina, you should definitely hit up 145 Caffe).
We then spent the day exploring, shopping, relaxing on the beach and chatting on our balcony overlooking the Ionian Sea… Hard to take right?!
While everything in Taormina is like it is out of a fairytale, it was the hours between six and eight in the evenings that were my favourite times of the day, because this was the time of ‘aperitivo’.
Now, I don’t know why ‘aperitivo’ hasn’t taken off everywhere, but the idea of meeting people between 6pm and 8pm to relax, talk, share a drink and something delicious to nibble on is my idea of wonderful.
We made our way to one of the local restaurants. They had the most incredible selection of mocktails (aka analcolico) you could possibly dream of – virgin mojitos, hibiscus tea, arancia iced tea, crodino & soda’s, the list goes on! If that wasn’t good enough, your drink came with a mouthwatering selection of snacks to nibble on. Absolutely amazing!
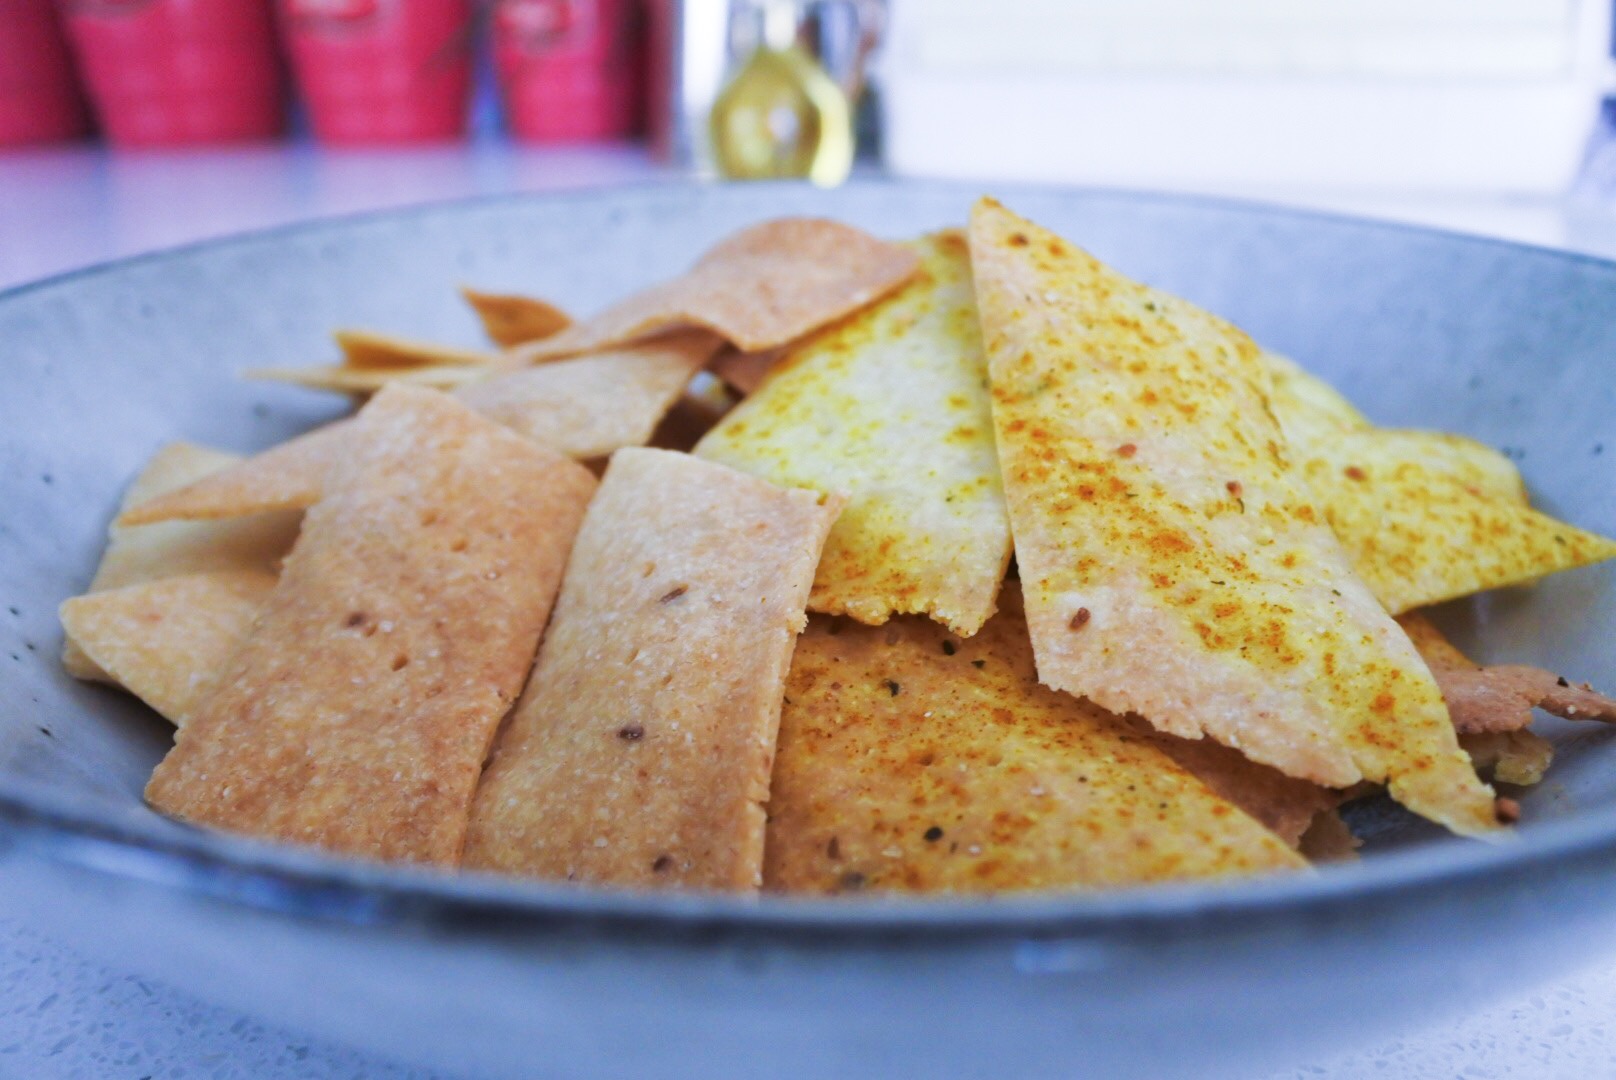
It was here that I discovered these crispy, savoury and salty crackers, that were a little like lavosh style crackers, and served as part of their ‘gluten free’ nibble options. Now these crackers were used as both the base for some delicious toppings and also as a side accompaniment with fresh vegetables alongside fresh dips, cheese and olives; quite the versatile little cracker.
So, naturally, I had to find a way to recreate this delicious little morsel. Once again I hit the books and internet, searching for every gluten free cracker recipe I could find, but none of them seemed to be quite what I was looking for. I then came across a basic cracker recipe (that wasn’t gluten free), and I thought, why not just adapt it with gluten free flour and add the flavours that I remember.
So that’s what I set out to do, however that didn’t really turn out too well, with the flour to water ratio needing quite a bit of alteration. To spare you the rambling details, after much fiddling and alteration, I finally got the consistency just how I like, with just the right amount of flavour according to my lingering memories.
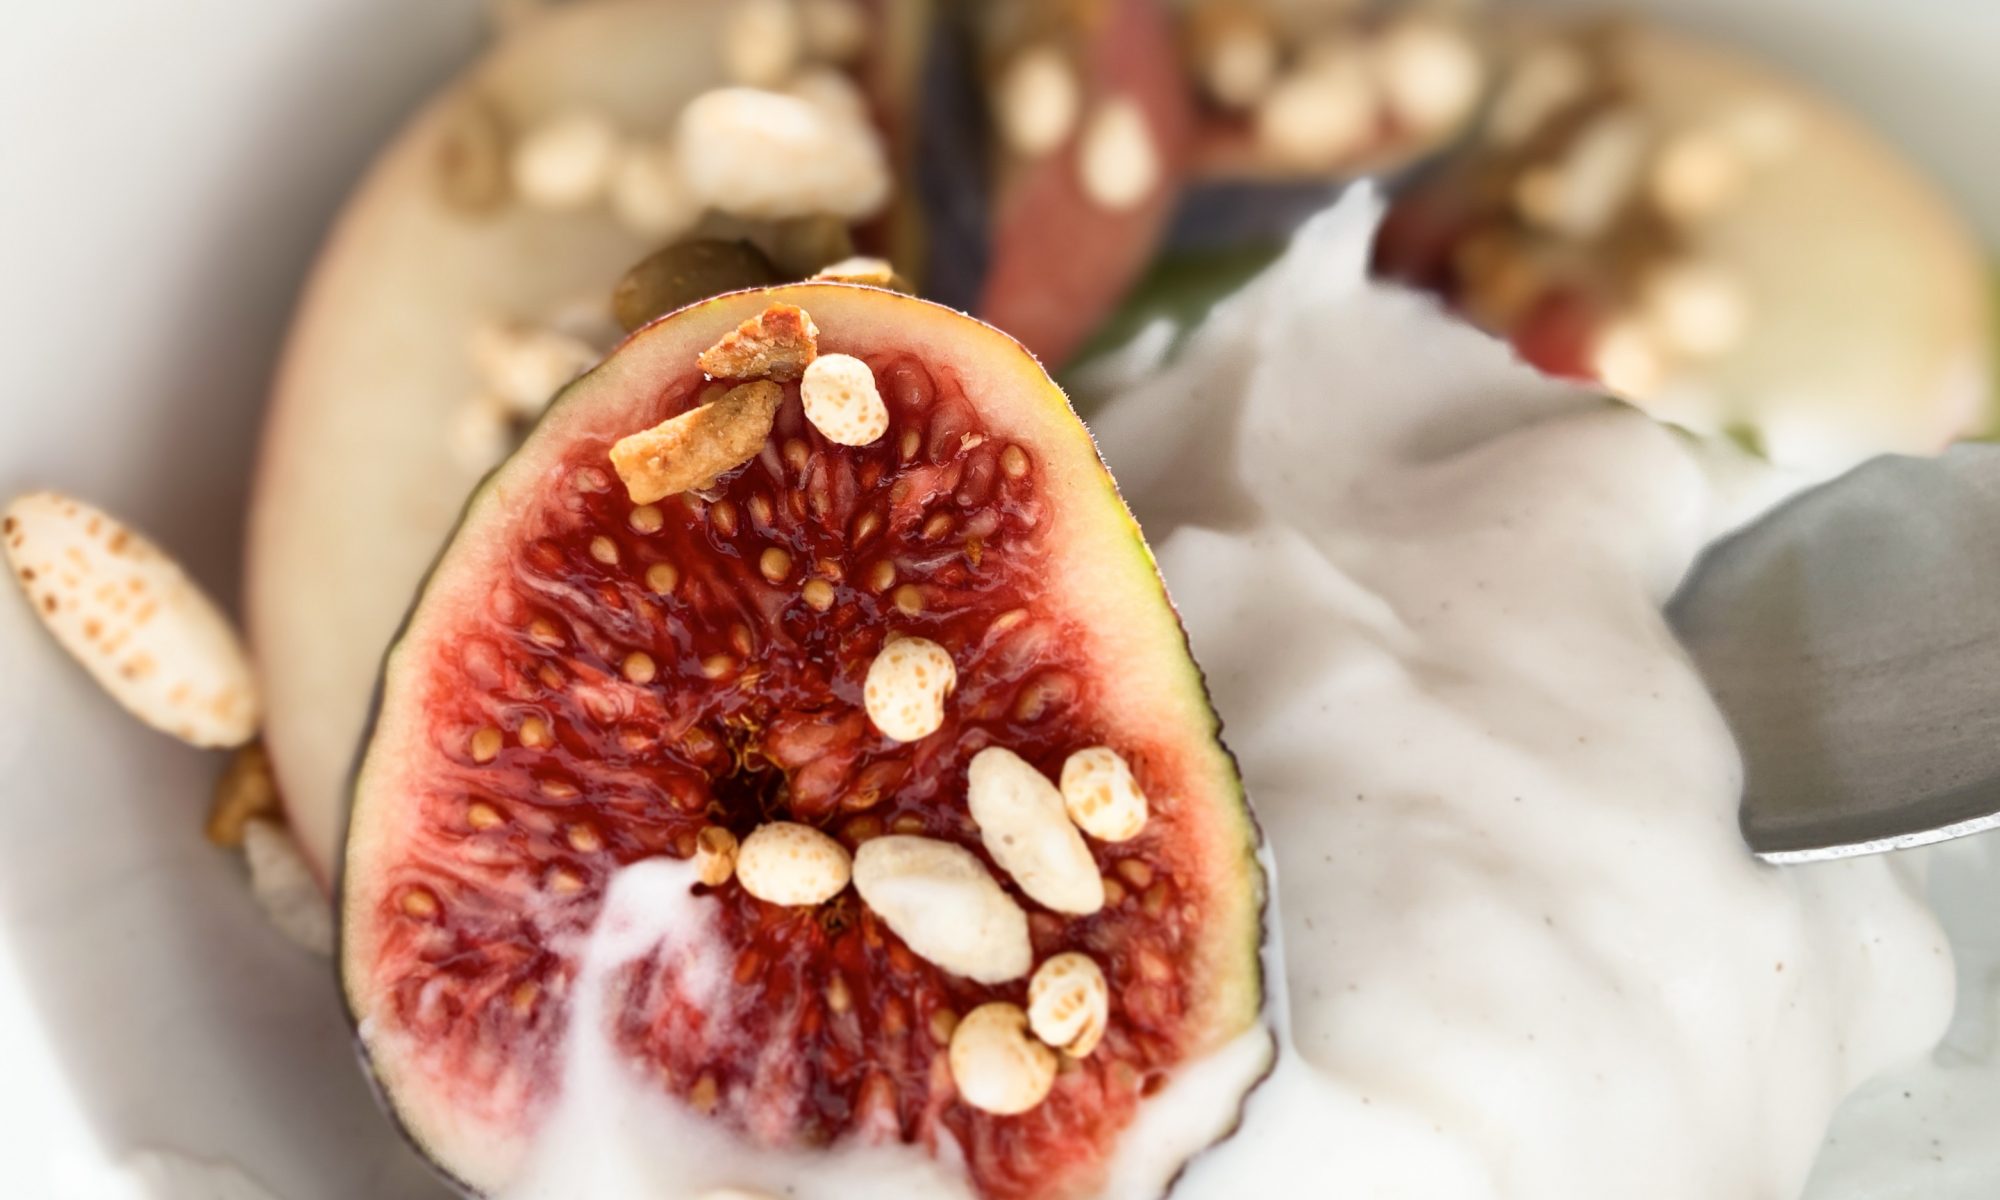
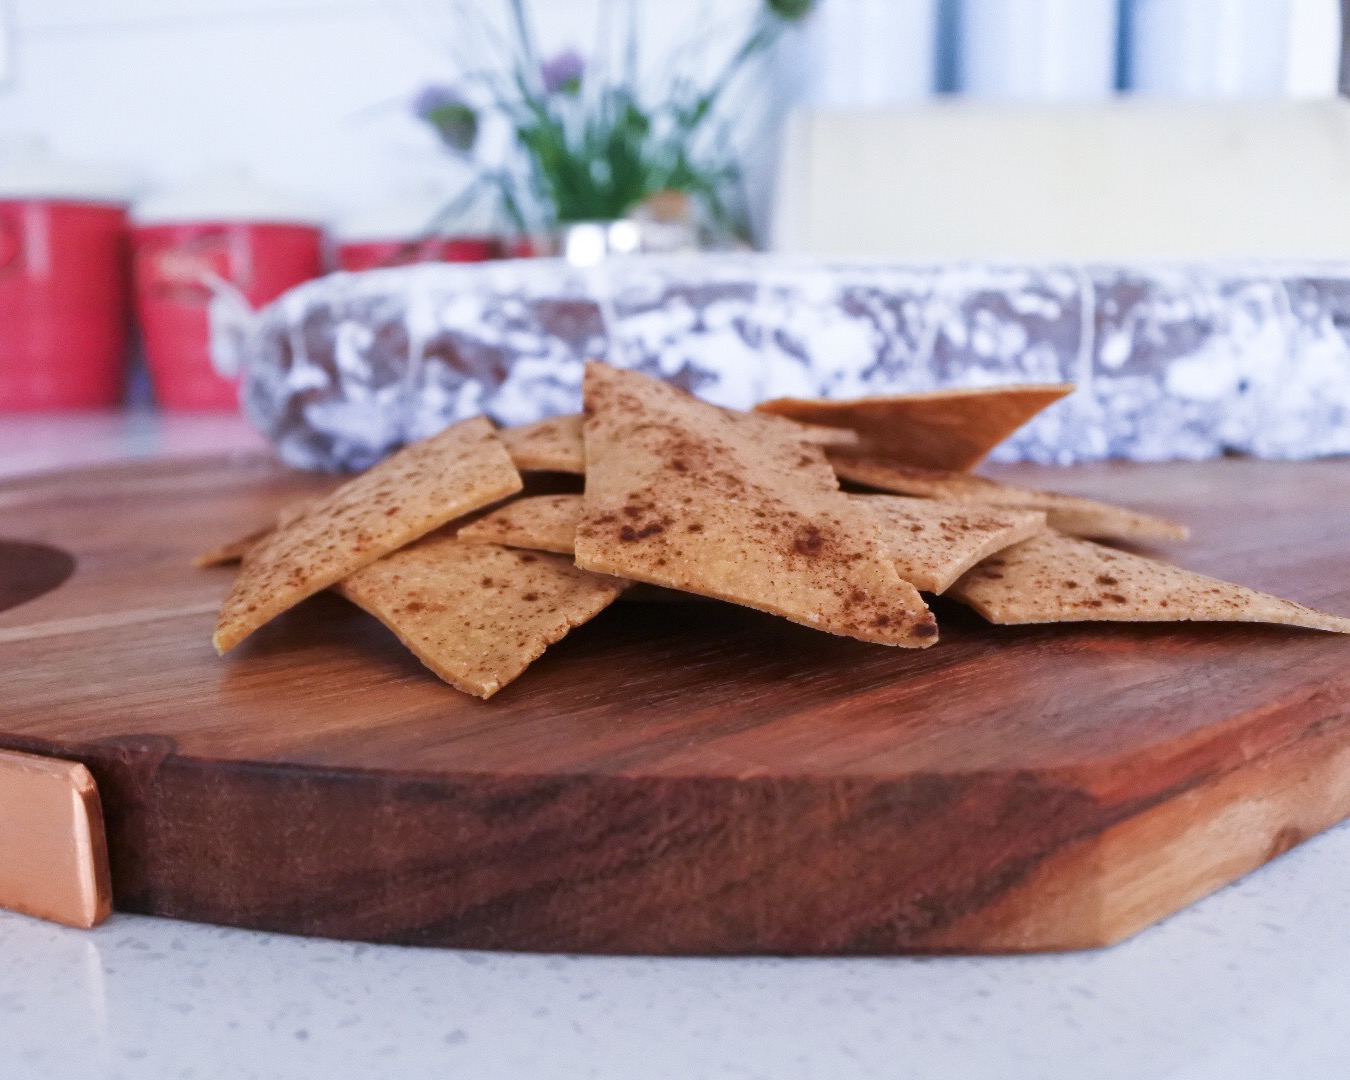
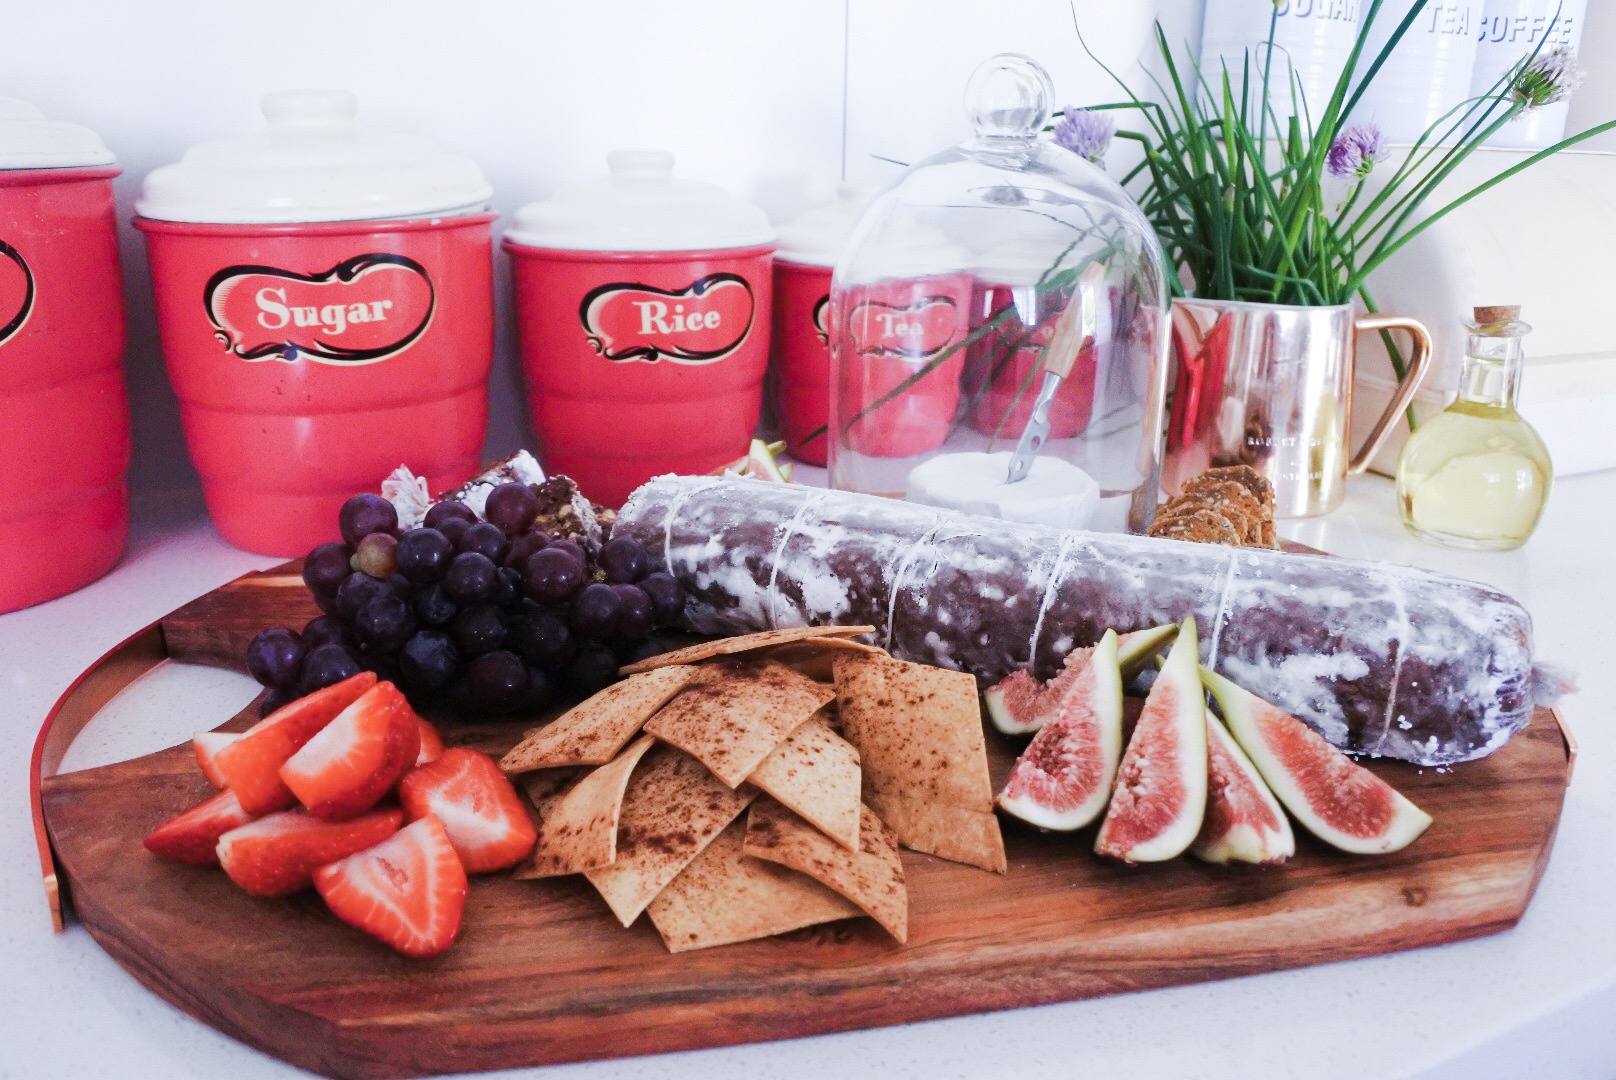
Then, since I now had the base that I knew would work, I thought, why not make a sweet version. We were eating a lot of rich ricotta filled sweets that were laden with honey, cinnamon and nuts and I thought, why not create a sweet crispy base for a spiced ricotta topping… so after a few more tweaks to the original recipe, I now had a savoury and a sweet version of some crispy and delicious lavosh style crackers to relive my Taormina days back in Australia.
Now, the only question left to ask is, how will you serve up your lavosh style crackers?
CRISPY LAVOSH STYLE CRACKERS
Ingredients:
Sweet
1 cup gluten free plain flour
1 tbsp honey
1 tbsp butter (nuttelex or olive oil spread for those that are dairy free)
1 tbsp oil
¼ cup water
1-2 tbsp cinnamon
Savoury
1 cup gluten free plain flour
1 tsp honey
1 tbsp butter (nuttelex or olive oil spread for those that are dairy free)
1 tbsp oil
¼ cup water
2 tsp garlic salt
1-2 tbsp turmeric
*Extra garlic salt to sprinkle on top
Method:
1. Preheat the oven to 180 degrees celsius.
To make both the sweet dough and savoury dough, you follow the same general method.
2. Take all the ingredients from either the sweet or savoury list of ingredients and place in a large mixing bowl. Mix until a smooth dough forms. Wrap in cling wrap and set aside for 30 minutes.
3. After 30 minutes roll out the dough between two pieces of baking paper, ensuring it is quite thin.
4. Pre-slice the rolled out dough (leave as a whole piece on the baking paper with the slices – you will snap them apart at the cuts once baked) and place on a baking tray.
5. Bake at 180 degrees celsius for 10 – 15 minutes, or until golden around the edges.
Something to note at this point, you have to roll this pastry out quite thin and evenly, then ensure you bake it until all areas of the pastry are lightly golden, or else you will have a thick unappetising biscuit.
